The idea mount would
- Hold the bag to any diameter tubing
- Hold the bag rigidly
- Be simple to install and swap to other bikes
- Be light and low profile
- Economic pricing
- No custom fabrication
- Mounts the bag "on center" with the fork leg or frame tube
For a while I sold P clamps, which function well enough, but failed in several points. First, they are diameter specific so I have to inventory several sizes and have to ask each customer what size I need to send. Then if the customer changes what bike they put it on, they need another set of p clamps! Also the p clamps offset the bag from the fork, which bugged the machinist inside me.
Next, I came up with a better mount, involving a strip of aluminum, with three M5x0.8 tapped holes. This bolted to the bag, and 2 or 3 hose clamps secured it to the bike. This worked better but involved fabrication on my end, and was harder to set up. Also, the hose clamp tails are sharp! The mount was very rigid, noticeably more than the p clamps.
A month or two ago, a customer alerted me to a product out of Germany that he used to hold his Everything Bags on with, so I looked up the product, liked what I saw, with a few reservations, but contacted the company anyway. They responded quickly and offered to send me a pair, for free, to test out with my product. Sweet!
I've been commuting to work with it for a couple weeks (probably 200 miles on it now), with no issues, and put in some miles on the mountain bike trails too, with good results. My confidence is growing.
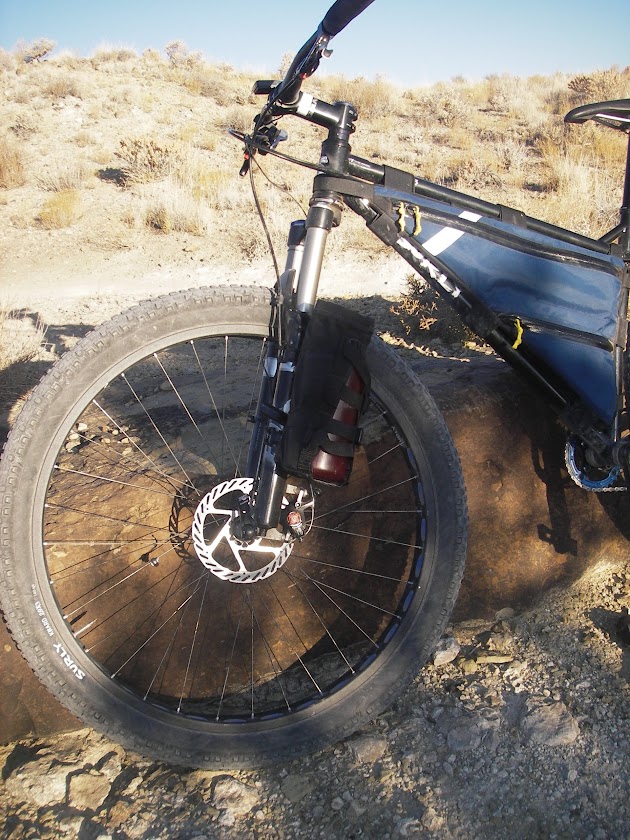
The mount consists of a molded plastic bit with a vee shape that secures to the fork/frame with a rubberized velcro strap. I was initially skeptical of the holding power of these straps. The bag bolts to either two or three of these mounts. Swapping the assembly between bikes is very fast, with no tools needed.

I took the Krampus off this drop, with a 1 liter Nalgene on just the left side of the fork. The bike flew fine, the bag mount held just fine. The only problem was my confidence, since this was the biggest thing I've dropped in a while....
I'm planning to switch permanently to this mount, details will be forthcoming.
Its called the SKS Anywhere Mount. The mount will of course work with any other bottle cage mount out there, and can go many places on your bike, recumbent, tricycle, whatever! Its a very handy little device.
Further experimenting will include putting a 2 liter bottle in there, and using a hose clamp on instead of the velcro strap to see how that works. The hose clamp would be an optional extra for heavy loads and long distances, offering a bit more security to the bag.

This bag is off for some touring in Baja.

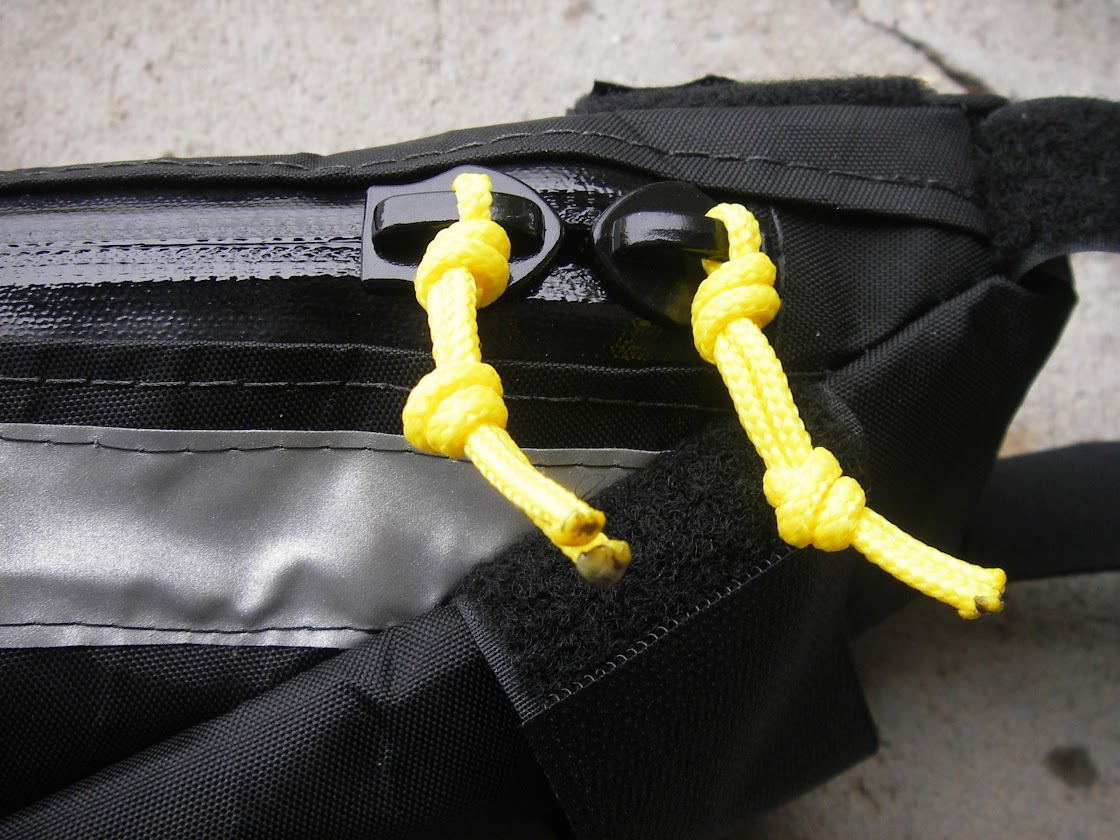
I use two zipper sliders on all main zippers. This costs me a bit more, but results in a better product. Zippers tend to fail when the wedge in the slider wears too thin. The first fix is to use the other zipper pull! You've gotta open the bag from the other end, but your stuff stays in. The next fix is to get your pliers and gently squeeze the worn slider side plates a tiny bit tighter. This often helps. The main zippers are all heavy duty #10 YKK water resistant zippers.
The zipper pulls are nice fat parachute cord, with two knots, so you can grab it easily with puffy mittens and cold hands. No puny thin zipper pulls for me!
The bag is nice and simple, with just a few highly practical features - left map pocket, reflective tape, hydration port, and pump straps inside under the top tube.

Nice and clean.

And now for a few shots from recent personal adventures
For you Grand Junctionites, this is a traverse from Mt Garfield to Tellerico Trail, above the Bookcliffs. About 20+ miles of walking, with no water and no easy bailout, with a wee bit of route finding fun in the middle.
Funny sign I came across, after bushwacking for an hour or two through where the nonexistent trails where supposed to exist. "Thanks, now you tell me!"


I came across a good deal on a rusty old Stanley #4 Bench Plane. Knowing the fun and utility of a good plan, I picked it up, and went about restoring it. Two tricks I learned in the process. To remove rust from old steel tools, just submerse it in vinegar with some salt (the salt increases the acidity) overnight. The rust wipes right off with a green scrubby, leaving nice shiny metal! The vinegar also worked on the brass bits, I only left them in for an hour.
The wooden handles where old, dried out, and the paint was in bad shape. So I sanded them down, and, not wanting to buy a jug of linseed oil, tried Vasoline instead. It took a day to soak it in, then you've got to wipe off the extra. But now it works fine and looks good too.


That's all for now folks. Thanks for checking in.